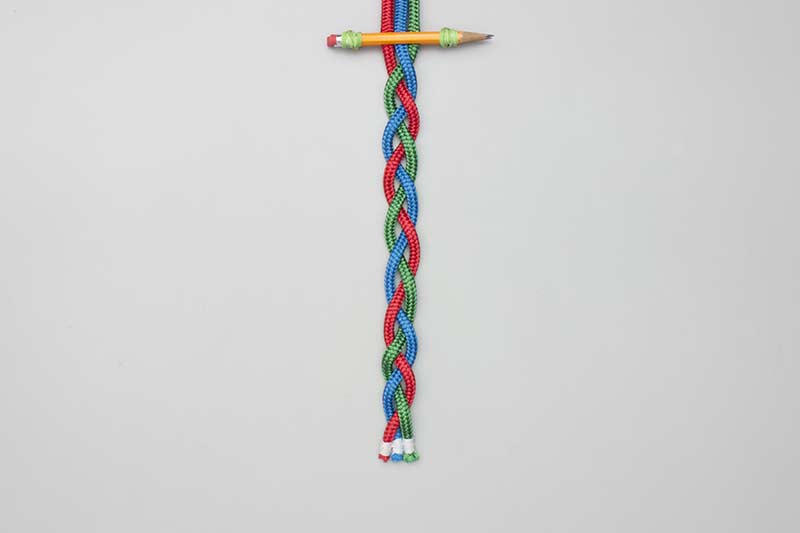
Simple braid but not the version usually used for braiding hair.
Three Strand Braid (Alt)
Simple braid but not the version usually used for braiding hair.
 |  |
 |  |  |  |  |
To Step use Arrow Keys (
Description: Best known today as a Braid or Plait, Ashley (ABOK # 2966, p 489) describes this as “possibly a quicker but less usual way” to make the three-strand Flat, English, Ordinary or Common Sinnet and as the braid seen in schoolgirl pigtails. This is one version of the simplest possible braid. However, the easier one to make is Simple Braid (1) where, at each step, the braid is tucked over not under.
Comparison: Six Simple Sinnets are shown here to illustrate that even a few strands allow considerable variety and Ashley actually shows a couple more which are not symmetrical. The Simple Braid (1) and the Simple Braid (2) are identical except they are viewed from opposite sides; moreover, tying each version feels quite different. The French Sinnet (1) and French Sinnet (2) are also essentially the same but the way they are tightened makes them look very different. The Square (or Round) Sinnet is pleasingly solid in contrast to #2974 which is more decorative and far more open.
Uses: This Sinnet can be used to braid hair but the technique shown here is less commonly used. It can also be used to convert lengths of string or colored plastic into pleasing flat bands. Sinnet is also spelled Sennet, Sennit, and Synet.
Technique(s): In this version (Two) the outer strands are always passed beneath, or under, the center strand. It was actually my original attempt. My wife, Anthea, commented that it was not how hair is usually braided. Unlike me, she knew each side strand is usually passed over – not under. I took a fresh set of photos to create Version 1. Although most of the knots in this collection can be flipped or rotated, only this Three-Strand Braid may be viewed from both back and front.
Finishing the Braid: When used for hair the ends tend to separate rapidly. To prevent this use an elastic band, hair spray, colored beads, or a hair clip.
Braiding Option: Separate your hair into three bundles but do not continue this separation down to the very end – this requires iron control! Start the Braid which forces an upside-down Braid to form below. Continue braiding until you have no more space to work. Tuck the tail through a loop where you were just working. With practice this creates an elegant braid with no elastic band or beads at the bottom
