Hollow Braid Eye Splice with end threaded up rope center.
Long Bury Splice
Hollow Braid Eye Splice with end threaded up rope center.
 |  |
 |  |  |  |  |
To Step use Arrow Keys (
Material: The Long Bury Splice technique is particularly suitable for un-sheathed, high modulus, loosely woven, 8, 12, 16, 20, or 24-strand, single braid ropes. These ropes include: High-Modulus Polyethylene (HMPE), e.g., Spectra, Dyneema or Amsteel; Liquid Crystal Aromatic Polyester (LCAP), e.g., Vectran; or Aramid fibers, e.g., Kevlar, Nomex, Technora, or Twaron. The loose weave results in the angle of the fibers being nearly parallel to the axis with minimal kinking. The ropes have impressive strengths but they also have impressive drawbacks: knots or kinks can reduce the breaking strain of some materials to a mere 30%. The splicing technique described here imposes almost no kinking or compression on the rope’s fibers and breaking strains in the 90 – 100% range are to be expected.
Warning: in practice use a much longer tail and a more gradual taper – see below. The short lengths were used here just for photography.
Nomenclature: Some authors refer to this as a Brummel Splice without a lock. We prefer to reserve the name Brummel for the Locked Splice and use Long Bury Splice to describe this splice. However, both the Brummel Splice and the Long Bury Splice have a critical feature in common: they both derive their strength from the long buried tail.
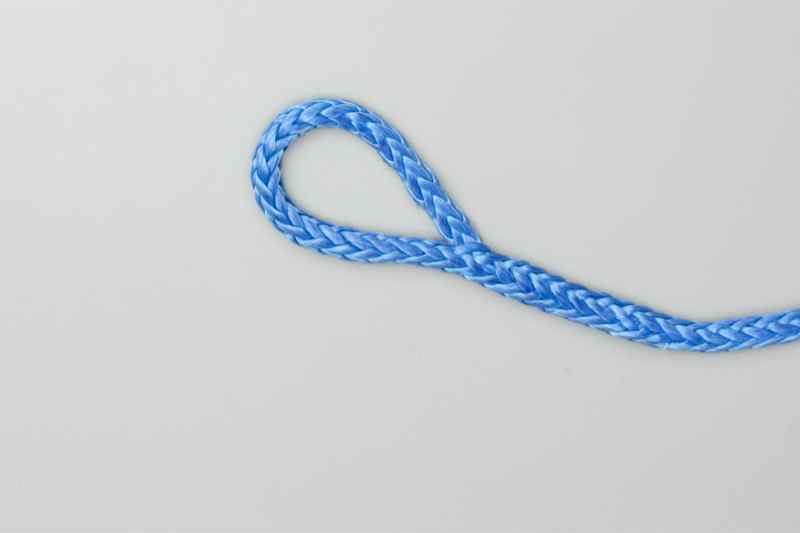
Long Bury Splice technique: The animation shows how to tie a Splice using the Long Bury technique – with no “Lock”. When tested to destruction, the Long Bury splice should not be a weak point – the standing end of the rope may break first. The strength of the splice relies on the long tail being gripped by the standing end; the strain is progressively transferred from the standing end to the two lines of the eye.
Requirements: At first glance this seems to be a simple way of making an eye splice – just thread the end up the middle. However, several requirements must be met to achieve both reliability and strength:
- Length of bury: Both Brion Toss and Starzinger recommend that the length of the buried tail should be 72 times the rope’s diameter. This is about three and a half full fid lengths (a full length fid is 21 times the rope’s diameter.) The very slippery Spectra and Dyneema require this long bury. However, for Polyester, about half this length is sufficient.
- Taper: A tail with no taper creates a weak point because the square end of the buried tail abruptly changes the angle of the rope’s fibers. The animation shows a short taper with the marks placed on alternate strands, In practice a much more gradual taper is made by marking every fifth pair or, for a 20 strand hollow braid, alternate fifth and sixth pairs. This long taper means that the load is progressively transferred to the tail accompanied by a gradual change in the angle of the fibers in the standing end. As the fiber angle becomes less favorable, some of the load has already been transferred from the outer braid to the inner.
- Stitching: For a critical breaking strain, stitching adds nothing. However, the critical load is only encountered occasionally. In the interim, movement, shaking, and inquisitive fingers, may displace the tail – even pulling it completely out of the rope – wrecking the ability of the splice to withstand a maximum load. The recommended stitching is a serpentine zigzag right through the rope and buried tail. This stitching is made up in one direction followed by a similar return pattern back down with the rope rotated 90 degrees. The two ends of the stitching are then tied together, pulled into the splice, and trimmed.
- Locking: The Locked Brummel provides stability, just like the stitching. However, it adds no strength. How could it? The Long Bury technique achieves about 100% of the breaking strain. Nevertheless, many riggers, climbers, and arborists, routinely use the Locked version. It is a quick and reliable way to lock the splice together in the right position.
- Whipping: For the greatest security, the splice should be whipped at the throat – the point where the two ropes exit from the splice to form the eye.
Shortening: The long buried tail expands the rope and shortens it. There is no reliable formula for predicting the result because the settings used in the manufacturing process vary the tightness/looseness of the hollow braid construction. The following technique works when preparing rigging for a mast. Before making the first splice, make a mark well away from the end, e.g., 15 feet. Then measure the lengths to be used for the eye and the tail and make the splice. Measure how much the splice has shortened the end of the rope. Apply enough load to “reset” the braid the way it will lay in use. Measure again. Use this information to calculate the length of rope required and try to make an identical splice on the other end.

